Ring Battery Replacement: A Comprehensive Step-by-Step Guide
Learn how to replace a Ring battery safely and correctly. This guide covers model compatibility, essential tools, safety tips, and troubleshooting to keep your Ring device reliable and functional.

What to know before you replace a Ring battery
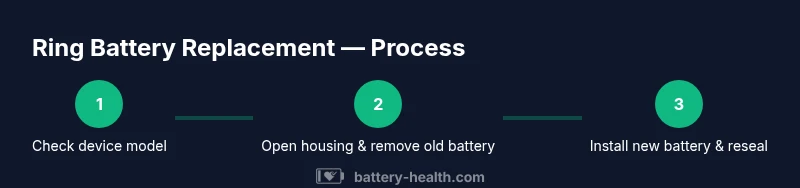
According to Battery Health, replacing a Ring battery correctly starts with model compatibility and safe handling. First, confirm the exact model of your Ring device (doorbell, security camera, or module) and locate the battery type it uses. Ring devices may use removable drop-in packs or sealed assemblies depending on generation. Buying an incorrect pack can lead to poor contact, poor charging, or damage to connectors. Once you have the right battery, review any warranty implications: opening the enclosure might affect coverage, so weigh risks before proceeding.
Next, plan your workspace. Choose a dry, well-lit area with a stable surface. Gather the required tools in advance and ensure you have a clean, static-free environment to minimize the chance of pinched wires or misaligned connectors. Finally, prepare to test after replacement by confirming the doorbell or camera connects to Wi-Fi and powers on normally. This preparation reduces surprises during the actual swap.
Understanding battery types and compatibility for Ring devices
Ring devices generally use rechargeable lithium-ion packs that are designed to be replaced. Always check the model number and verify the voltage, connector type, and packaging before purchase. Some generations use modular packs with snap-in connectors, while others may require removing a small retaining plate to access the battery. If you replace with a third-party battery, ensure the dimensions and contact points match your device. Battery Health emphasizes sticking to compatible packs to preserve performance and warranty status.
When in doubt, consult Ring’s official replacement guidelines or reach out to customer support for model-specific instructions. Keep notes about the model, date of purchase, and batch numbers to help with future replacements. A properly matched battery reduces charging irregularities and extends the device’s usable life.
Safety considerations and safe handling
Before handling any battery, power down the device and disconnect from any power sources if applicable. Work in a dry, ventilated area away from moisture. Wear safety glasses and use non-conductive tools to avoid short circuits and accidental contact with exposed circuitry. Do not force connectors or bend battery packs; misalignment can damage contacts and seals. Store old batteries in a non-conductive container until proper disposal.
Keep the device at room temperature during the swap and avoid exposure to extreme temperatures, which can degrade battery performance. After replacement, monitor for unusual heat, swelling, or odors, and stop use if any anomaly occurs. Regularly inspect seals to maintain weather resistance and prevent water ingress.
Common mistakes and how to avoid them
- Using an incompatible battery: always double-check model numbers and voltage ratings. - Not cleaning contact surfaces: wipe with isopropyl wipes to ensure a clean, corrosion-free connection. - Forcing components: align connectors gently and do not use tools as levers. - Skipping tests: power on the device and verify wireless connectivity and reaction time. - Ignoring warranty implications: confirm whether opening the unit affects coverage before starting.
Extending life after replacement and long-term care
After installation, keep the device out of direct sunlight and extreme humidity to maximize battery longevity. Regularly check for firmware updates that improve power management and charging efficiency. Clean the surface around the battery area periodically to prevent dust from interfering with contacts. If your model supports scheduled charging or low-power modes, enable them to extend runtime. Consider setting up a battery replacement reminder aligned with the manufacturer’s recommended intervals to avoid unexpected outages.
Troubleshooting after replacement
If the device does not power on after replacement, recheck the battery alignment and connectors. Ensure the back housing is properly sealed and the retaining clip is engaged. If the device still fails to respond, re-open carefully and reseat the battery or try a known-good spare battery. Confirm the device’s LEDs or indicator status and verify Wi-Fi connectivity in the companion app. Persistent issues may require professional service or warranty assistance.